Have you ever wanted to capture important moments on your Windows 11 desktop? Whether it’s for tutorials, presentations, or simply sharing content with others, having a reliable screen recorder is essential. In this comprehensive guide, we will explore everything you need to know about using the Windows 11 Screen Recorder to capture your screen effortlessly and professionally.
Getting Started with Windows 11 Screen Recorder
How to Access Windows 11 Screen Recorder
To get started, you need to locate the Windows 11 Screen Recorder. It’s conveniently built into the operating system, allowing for seamless access without the need for third-party software. Simply follow these steps:
- Open the Start Menu by clicking on the Windows icon in the taskbar.
- Navigate to the “Settings” option and click on it.
- In the Settings window, select “System.”
- From the left-hand menu, choose “Screen.”
- In the “Screen” settings, scroll down and click on “Screen Recording” to access the Windows 11 Screen Recorder.
Using the Windows 11 Screen Recorder Shortcut
To save time and make screen recording more efficient, Windows 11 offers a convenient shortcut to open the Screen Recorder instantly. Follow these steps to utilize this handy shortcut:
- Press the “Windows” key + “Shift” + “R” on your keyboard simultaneously.
- The Windows 11 Screen Recorder will pop up instantly, ready for you to start capturing your screen.
Recording Your Screen on Windows 11 with Audio
Step-by-Step Guide to Record Screen with Audio
Capturing audio alongside your screen recording can significantly enhance the overall experience for viewers. With the Windows 11 Screen Recorder, it’s a breeze to record audio simultaneously. Here’s how:
- Open the Windows 11 Screen Recorder using one of the methods mentioned above.
- Once the Screen Recorder window appears, click on the microphone icon to enable audio recording.
- Configure the audio settings as per your preferences, including microphone volume adjustment.
- Hit the “Record” button to begin capturing your screen and audio together.
- When you’re done recording, click on the “Stop” button to finalize the process.
Exploring Additional Features for Audio Recording
Windows 11 Screen Recorder offers additional features to enhance your audio recording. You can access these features by clicking on the audio settings icon during your recording session. Some notable features include:
- Audio Source Selection: Choose between recording audio from the system, microphone, or both sources.
- Audio Quality Adjustment: Fine-tune the audio quality to ensure clear and crisp playback.
- Audio Track Separation: Separate audio tracks for system sound and microphone sound, allowing for precise editing during post-production.
Enhancing Your Screen Recording Experience
Utilizing a Free Screen Recorder for Windows 11
While the built-in Windows 11 Screen Recorder is powerful, you may require additional functionalities or more advanced editing options. In such cases, using a free screen recorder for Windows 11 can be a great alternative. Some popular options include:
- OBS Studio: A versatile and feature-rich screen recording software that allows for advanced customization and editing.
- ShareX: A lightweight and user-friendly screen recorder that offers multiple capture modes and editing capabilities.
- FlashBack Express: An intuitive and easy-to-use screen recorder with advanced editing tools and direct uploading options.
Making Use of the windows 11 screen recorder shortcut
To further streamline your screen recording process, Windows 11 provides a useful shortcut that allows you to start recording instantly. The shortcut is as follows:
- Press the “Windows” key + “Alt” + “R” on your keyboard simultaneously.
- The screen recording will begin immediately, making it easy to capture any moment without delay.
Recording Screen on Laptop with Audio
Steps to Screen Record on Laptop with Audio
Recording your laptop screen with audio is just as straightforward as recording on a desktop. Follow these steps to get started:
- Ensure your laptop is running on Windows 11 or later versions.
- Locate the Windows 11 Screen Recorder using the steps described earlier in this guide.
- Configure the audio settings to include both system audio and microphone audio if desired.
- Start recording your screen by clicking on the “Record” button.
- When you’re finished recording, click on the “Stop” button to finalize the process.
Conclusion
In conclusion, capturing your screen with the Windows 11 Screen Recorder has never been easier. Whether you’re a content creator, educator, or simply want to share your screen with others, this built-in tool offers seamless functionality and advanced features. Remember to access the Screen Recorder directly through the shortcut or via the Windows settings. Additionally, leverage external free screen recording software when additional capabilities are required. With these steps in mind, start recording your Windows 11 screen today and effortlessly share your knowledge, adventures, or special moments with the world. Happy recording!
Have you tried the Windows 11 Screen Recorder? Share your experiences and tips in the comments below!
Faqs
How do I record my screen with sound on Windows 11?
here are two built-in options for recording your screen with sound on Windows 11:
1. Using Xbox Game Bar:
This is the simpler option and works well for most purposes. Here’s how to do it:
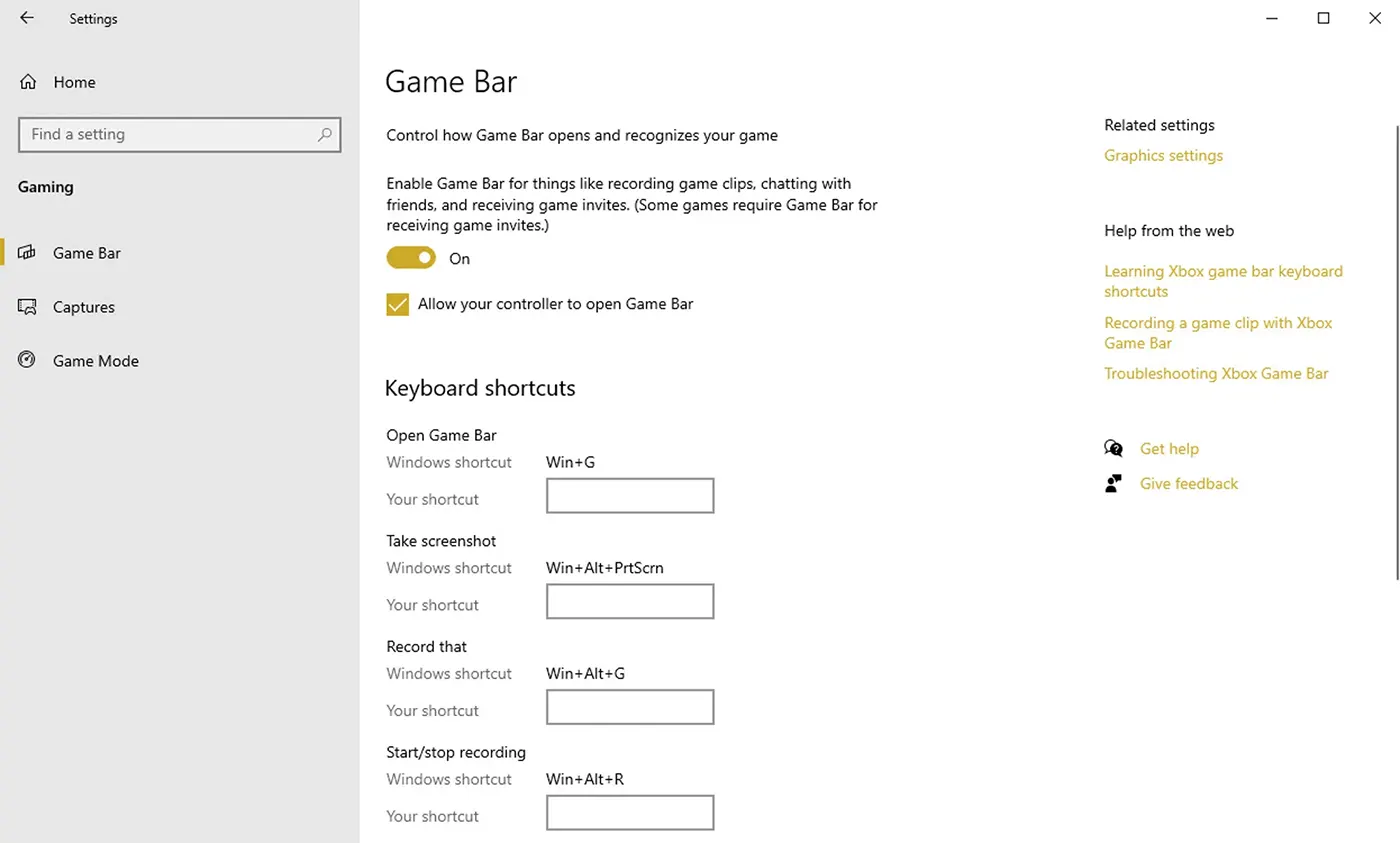
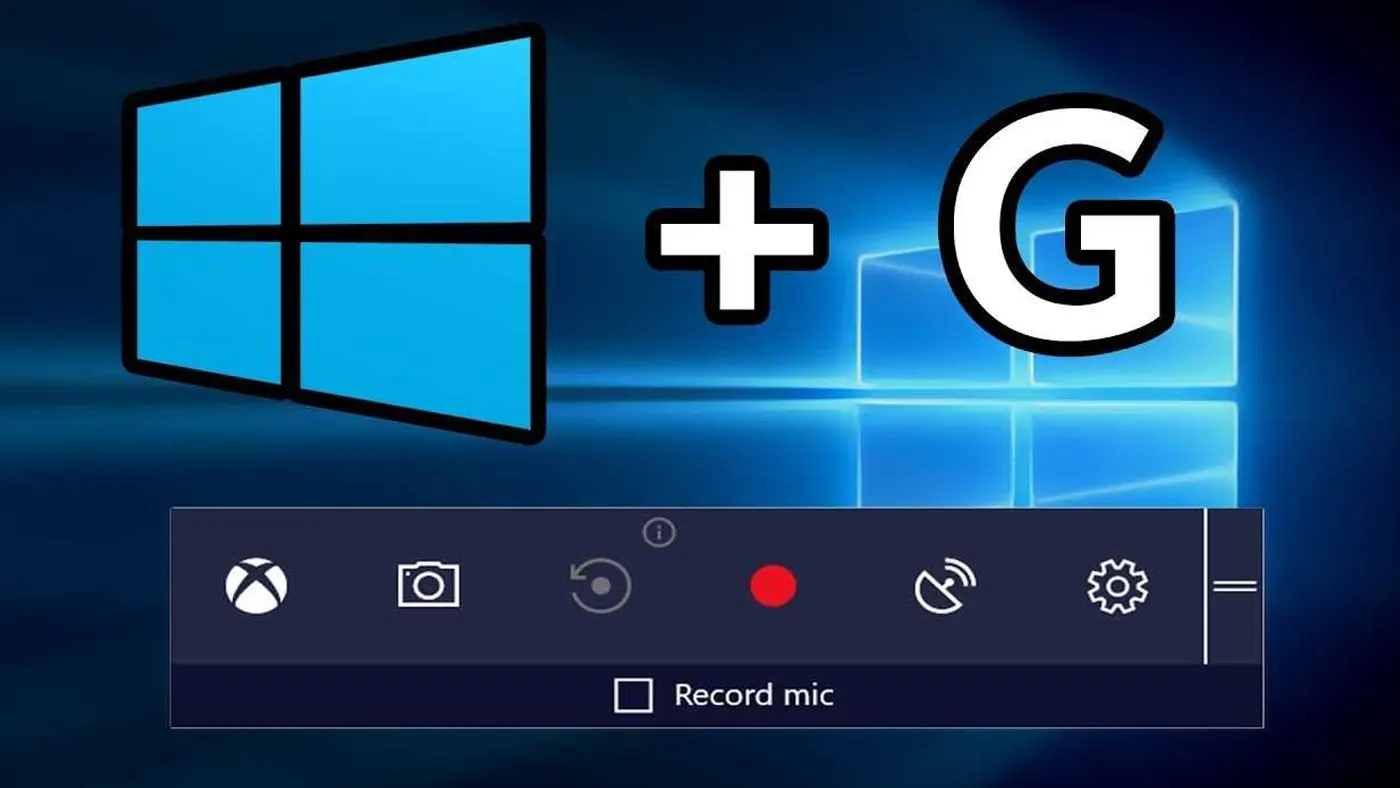
Open the Xbox Game Bar by pressing Windows Key + G.
You might see a pop-up asking if you want to use Game Bar features, click “Yes, this is a game”. This message only appears the first time you use Game Bar.
Click the record button (a red circle) in the Xbox Game Bar, or press Windows Key + Alt + R.
To record a specific area, click the microphone icon and choose your desired microphone input (if you have multiple).
Click the record button again to stop recording.
2. Using Snipping Tool:
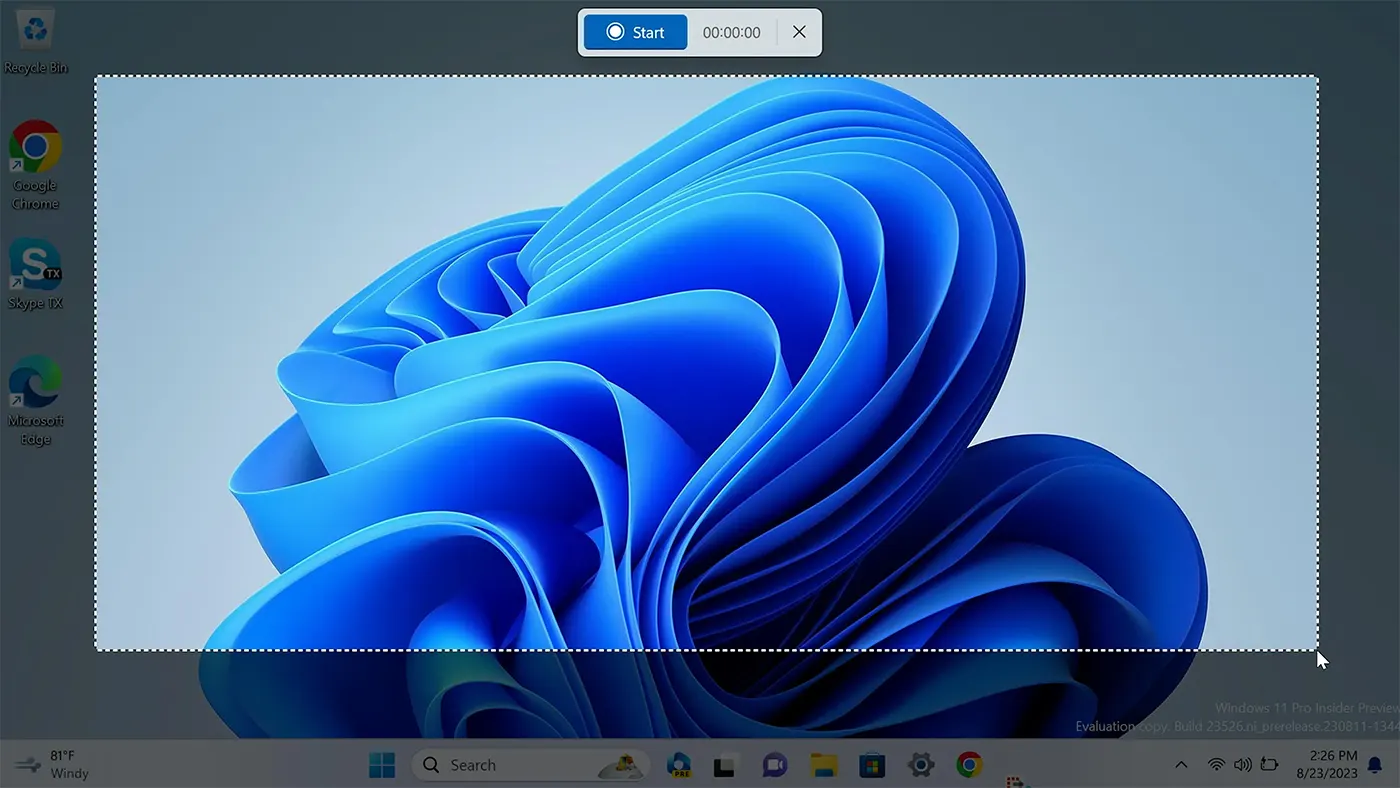
While traditionally used for screenshots, Snipping Tool now has a screen recording feature. Here’s how to use it:
Open the Snipping Tool by searching for it in the Start menu.
Click the down arrow next to the “New” button and select “Record.”
A selection box will appear. Drag it to choose the area you want to record.
Click the microphone icon to enable microphone recording and choose your desired input.
Click the record button to begin recording.
Click the stop button in the Snipping Tool window or press Win + Shift + Q to stop recording.
Additional Notes:
Your recordings will be saved in MP4 format by default.
You can access your recordings through the Videos folder or by using the Xbox app.
For more advanced editing or features, consider using third-party screen recording software.
Where is the recording tab in Windows 11?
In Windows 11, the concept of a dedicated “recording tab” doesn’t exist. However, there are built-in screen recording functionalities spread across two different applications:
Xbox Game Bar: This is the simpler option for most users. It doesn’t have a dedicated “recording tab” but offers a record button within the interface. You can access it by pressing Windows Key + G and then clicking the red circle record button.
Snipping Tool: This tool, traditionally used for screenshots, now offers screen recording features. There’s no “recording tab” here either, but when you open Snipping Tool, you can click the down arrow next to the “New” button and select “Record” to access the screen recording functionality.
Where are recording devices on Windows 11?
While Windows 11 doesn’t have a dedicated “recording devices” section readily accessible, you can access your recording devices through the Sound settings. Here’s how:
Right-click on the speaker icon in your taskbar (located on the bottom right corner by default).
Select Sound.
In the Sound settings window, click on More sound settings.
This will open the Sound window from the Control Panel.
Go to the Recording tab.
This tab displays all the recording devices connected to your computer, including microphones and internal audio inputs. You can right-click on each device to see options like setting it as the default device, disabling it, or configuring its properties.


LATEST NEWS
Πώς να φτιάξεις τα δικά σου Viber stickers σε 4 βήματα;
MoreΟδηγίες βήμα‑βήμα για την αναβάθμιση PHP WordPress (Ελλάδα)
MoreViber για επιχειρήσεις 2025 – Chatbots, πληρωμές, διαφημίσεις AI
More